![Test Cases for Calculator [featured image]](https://www.testingchat.com/wp-content/uploads/2022/03/test-cases-for-calculator-featured-image-1024x536.jpg)
When writing a Test Case for Calculator, start with the UI. Then move onto writing test cases for each of the buttons. Functionally test each calculation and output. Include scientific calculations if this is in scope.
Table of Contents
Context and Test Approach
As always, I like to set the expectation in terms of the context of what we are testing.
The basic functionality of a calculator is expected to be the same across any platform.
However this may be different depending on your requirements.
For this article, let’s focus on a basic calculator running on an iPhone device.
Knowing this will help you really focus and create thorough test cases.
Before you Begin
As I always like to mention, if you need a model test case template then read the article on how to write a test case for a more in depth view.
The test case outline below does not include all the columns that you would normally expect so please read that too.
User Interface (UI)
The UI tests below should be conducted for both portrait and landscape view since they will both render different outputs.
| Test Case ID | Test Case Description | Precondition | Expected Result | Post condition |
| TC-UI-0001 | Verify the UI loads Note: This tests that the user interface loads without any errors. | The UI will load without any errors and the calculator application is displayed. | ||
| TC-UI-0002 | Verify all elements of the UI are displayedVerify all controls such as buttons fields etc loadVerify all text loads correctly Verify the branding, colours etc are displayed correctly. | All controls such as buttons fields etc load correctly. All typefaces for the calculator screen and buttons are displayed as expected. The correct branding colours and styles are displayed | ||
| TC-UI-0003 | Verify the UI elements are displayed in the correct location as per the UI specification | UI elements are displayed in the correct location as per the UI specification | ||
| TC-UI-0004 | Verify the text is exactly as per the UI design | Text is exactly as per the UI design | ||
| TC-UI-0005 | Verify the typeface(s) are as per the UI specification | typeface(s) are as per the UI specification | ||
| TC-UI-0006 | Verify the font size(s) are as per the UI spec | Font size(s) are as per the UI spec |
Planning Your Test Scenarios
Testing of a calculator can get quite complicated so it’s important to plan your scenarios in advance.
This article is only giving you high level test case examples and I have gone down to a test step level so just be mindful of that.
It’s important to understand the test data you will use too.
Test Data
If you plan to test the scientific calculator functionality (out of scope for this article) then having your expected value for each test will be important.
Ensure you know this before you run your tests so all you’re doing is comparing a like for like result.
I talk more about this below.
What are the Functional Test Cases for a Calculator Application?
Verify each integer numbers key is working when selected
Ok, so now the UI has generated correctly, we want to make sure that the buttons actually work.
You want to make sure that each key is working.
For traceability purposes, I would create a test step within each test case for each button. This will ensure that you have tested each item from a granular level.
| Test Case ID | Test Case Description | Precondition | Expected Result | Post condition |
| TC-FUNC-0001 | Verify each number key is working when selected | Each key when pressed, clicked or tapped (depending on your device) will display the corresponding number on the screen | ||
| TC-FUNC-0002 | Verify decimal point key is working when selected. | When “.” is selected, the display will display the value “0.” When “.” is selected, the “AC” button on the keypad will change to “C” | ||
| TC-FUNC-0003TC-FUNC-0003 | Verify the “+ / -” button is working when selected once | When the “+ / -” button is selected once, the display will output “-” on the left to numeric values. The size of the typeface will decrease to accommodate the “-“ If 9 numeric values are entered 9 will be displayed alongside a “-” value on the left. The “-” does not reduce the number of numeric values on the screen. | ||
| TC-FUNC-0004 | Verify the “+ / -” button is working when selected twice | When the “+ / -” button is selected twice, the display will output “-” (negative number) on the left to numeric values and then disappear. If 9 numeric values are entered 9 will be displayed alongside a “-” value on the left and then disappear. The “-” does not reduce the number of numeric values on the screen. The size of the typeface will decrease to accommodate the “-” and then the typeface size will increase again once the “-” has disappeared. When “.” is selected, the “AC” button on the keypad will change to “C” | ||
| TC-FUNC-0005 | Verify the “%” button is working when selected. | When the % button is selected, nothing should happen unless you are carrying out a percentage calculation. | ||
| TC-FUNC-0006 | Verify display defaults to the number 0 when calculator application is opened for the first time | Display defaults to the number 0 when calculator application is opened for the first time | ||
| TC-FUNC-0007 | Verify the display screen defaults to the last number when the calculator app is opened. | Display screen defaults to the last number when the calculator app is opened. | ||
| TC-FUNC-0008 | Verify addition “+” calculation is correct | addition “+” calculation is correct | ||
| TC-FUNC-0009 | Verify subtraction “-” calculation is correct | subtraction “-” calculation is correct | ||
| TC-FUNC-0010 | Verify multiplication “x” calculation is correct | multiplication “x” calculation is correct | ||
| TC-FUNC-011 | Verify division “/” calculation is correct | division “/” calculation is correct | ||
| TC-FUNC-0012 | Verify the equals “=” button generates an output. | the equals “=” button generates an output. | ||
| TC-FUNC-0013 | Verify decimal point calculation generates correct output | decimal point calculation generates correct output |
Portrait View

There are some noticeable differences when an IOS device is roasted from Portrait to Landscape Mode.
I have tried to capture these differences for you.
| Test Case ID | Test Case Description | Precondition | Expected Result | Post condition |
| TC-FUNC-0014 | Verify portrait view allows up to a maximum of 9 numeric characters on the screen display (excluding any commas or decimal points). | Portrait view allows up to a maximum of 9 numeric characters on the screen display (excluding any commas or decimal points). | ||
| TC-FUNC-0015 | Verify portrait view displays a comma separator for a “thousand” and “million” value. Note: this test case is written with western world audience in mind. The comma values may change depending on your country. For example in South East Asia you might want to replace amend the test case for “lakh” (100,000) ”, “crore” (10 million) and “arab” (1 billion) values respectively. | A maximum of 2 commas will be displayed in the thousand and millionth value. |
Landscape View
You shouldn’t need to conduct the same tests in landscape as you have done in portrait for a simple calculator.
This isn’t really a good use of your time and inefficient.
My method would be to take a sample of both positive and negative tests and run these to ensure they give the same expected result as the tests in portrait.
Believe me, in landscape mode, you’ll be running some tests for your scientific calculator.
We won’t be covering that in this article.
| Test Case ID | Test Case Description | Precondition | Expected Result | Post condition |
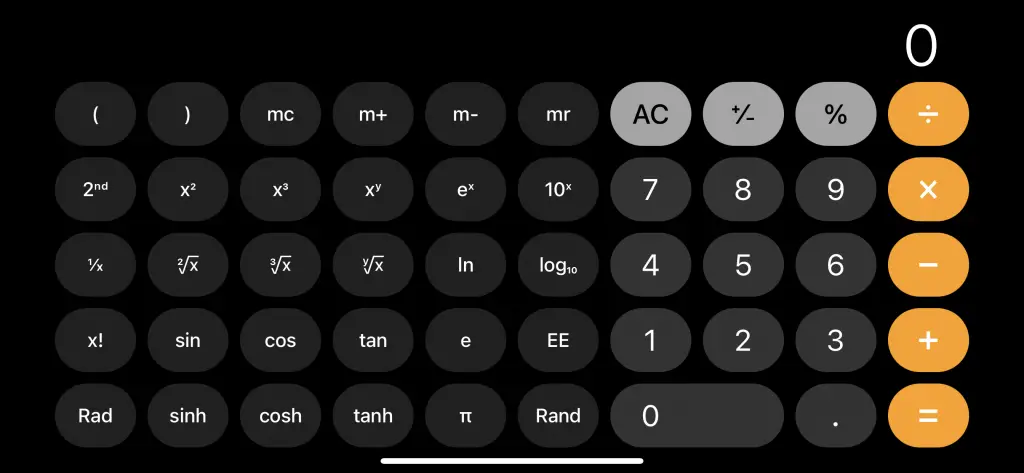
| TC-FUNC-0016 | Verify landscape view allows up to a maximum of 16 numeric characters on the screen display (excluding any commas or decimal points). | Landscape view allows up to a maximum of 16 numeric characters on the screen display | ||
| TC-FUNC-0017 | Verify Landscape view defaults to the scientific calculator view. | Landscape view defaults to the scientific calculator view. | ||
| TC-FUNC-0018 | Verify button [x] displays correctly on screen when selected. Note: You should add a test step for each button in landscape view and write an expected output so each item can be tracked. | Button [x] displays correctly on screen when it has been selected.. |
Performance Testing
What you also want to keep an eye on is how quick your calculator delivers results.
| Test Case ID | Test Case Description | Precondition | Expected Result | Post condition |
| TC-FUNC-0017 | Verify the result is displayed almost immediately. For a simple calculator, the result should display immediately. Note: Do this for both Portrait and Landscape view. It’s up to you whether you want to create these as separate steps in a single test case or separate test cases. | The output is displayed instantly on the calculator result window. |
Considerations when designing your test cases for a Calculator
Before you start designing your test cases, there are a number of things you need to consider.
Calculator Type – Digital or Analogue?
Are you using a physical hand held calculator like one by Casio/Texas Instruments?
Yes it’s those ones you had from when you were at school.
In fact, most of the tests designed should be compatible in most cases for any type of calculator app.
Basic or Scientific Calculator
Will you be testing a standard calculator or a scientific one?
A scientific calculator will require a LOT more effort so don’t forget to factor that in as part of your test planning and execution.
You will need to essentially test each scientific function to ensure it gives you the correct results.
How do you do this?
Firstly, use a calculator that you know outputs 100% correct results. This is your baseline.
Create a test case for each function and then run this test on the baseline calculator and application under test.
If the results match, then it’s a pass.
If the actual results deviate from the expected result then there is an error and you’ll need to raise a defect.
Device Type
Calculators are available on many devices such as mobile/cell phones, personal computers, gaming consoles and even televisions.
In fact I remember my Casio LCD watch from back in the 90’s had a calculator.
It was all the rage back in those days.
The basic functionality of a calculator will be the same across any device type so the test cases in this article should work for all.
Regression Testing and Test Case Management
Don’t forget to ensure your test cases are archived away for when you need them again.
As a Tester, having a test pack for future regression testing is a must so always do some housekeeping as part of your software testing project.
Ensure you tidy up your documentation for any future test project.
Lets Wrap Up
Hopefully that’s given you a good list of test cases for a calculator and plenty of things to think about on expanding the list.
Where possible ensure you can get hold of requirements and focus on granular detailed test coverage which you should cover in your test plan.
Always remember to develop negative test cases to really try and generate exceptions. You’ll often find most of the issues there.
Until the next time.
Happy Testing.