Did you know that by raising your software defect in a particular way, you can save yourself a great deal of time and headache?
In this article I’ll show you my best practice approach on how to raise high quality defects which will help you be more efficient in the long run.
How?
First and foremost, I’m gonna call you lazy!
What?
Yup, you’re lazy.
I know you’re under a lot of pressure and you’ve got a ton of test cases to execute
BUT
That doesn’t give you a reason to cut corners.
I get it, I know we all have time pressures.
You’re probably raising your defects quickly hoping that the Devs or whoever will be able to figure it out right?
Wrong.
That’s the reason in some cases you’re having unnecessary triage calls and people bugging you (excuse the pun) when you could’ve been working on running test cases.
Ok so what do I do about this?
You raise raise defects in a clear and concise way
Finding and fixing defects early is absolutely crucial.
This isn’t anything new.
In a report conducted by the CISQ in 2018, they found that the cost of poor software quality was costing US firms $2.84 trillion. Yup, that was trillion.
One of the recommendations was to try and address any issues as early as possible.
As software testers, this should be our mindset from day 1.
So here’s the thing, as testers we all know how to raise defects, well, in theory anyway.
But how many of you actually raise them as they should be using a best practice approach?
I’m going to show you how to raise software defects in 6 simple steps.
You have to promise me something though.
Agreed?
Raise up your right hand and say;
“I solemnly swear that every defect I raise will use the 6 step process…regardless of how tight my deadlines are or how small or big the defect seems to be…”
So you’re probably thinking;
What’s in it for me?
Why the heck do I need to spend more time raising these damn bugs when I can just put a 2 line description and everyone else can work out the problem?
It’s a valid question.
I for one really don’t like triage calls so anything that can help reduce or eliminate these is a “win win”.
When you raise a defect with all the information laid out clearly and concisely, it’s much easier to decipher for everyone.
When you raise a one line defect due to time constraints or laziness, you only have yourself to blame if you get tons of emails and calls asking to clarify what you meant, blah blah blah.
Don’t do this.
Below are the 6 steps you should implement as an absolute minimum.
Pay close attention as they really will change the way you raise defects.
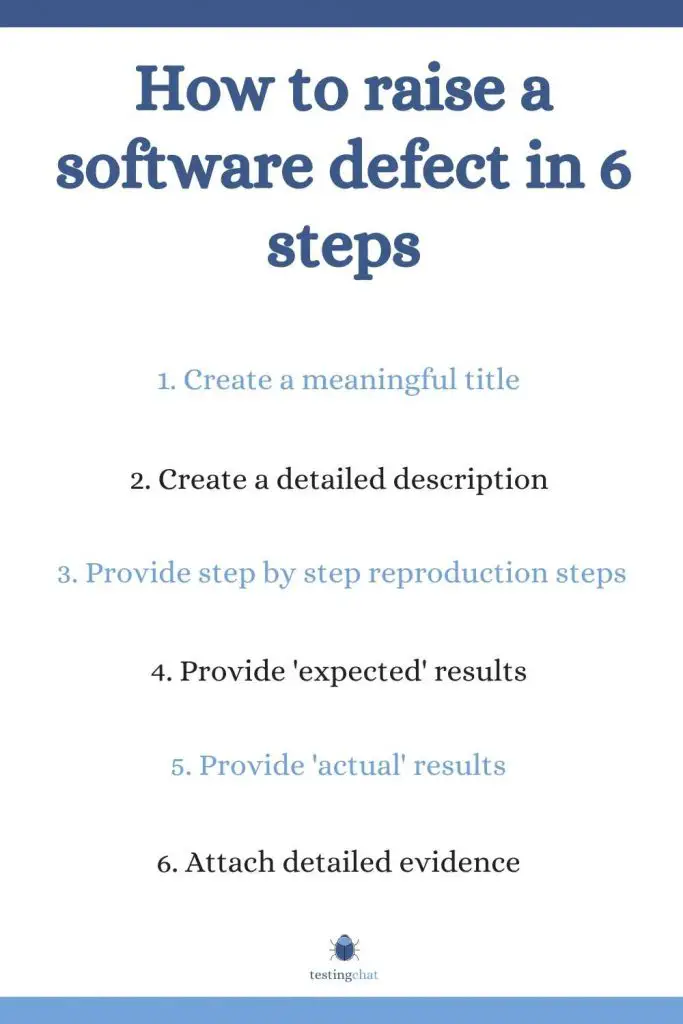
Step 1 – Create a meaningful title
Step 2 – create a detailed description
Step 3 – provide step by step reproduction steps
Step 4 – provide ‘expected’ results
Step 5 – provide your ‘actual’ results
Step 6 – attach detailed evidence
Lets go through them one by one.
Step 1 – Create a meaningful title
Over the years I find it shocking how many defect titles actually DON’T align with the defect that’s actually being raised.
You’ll read a title expecting it to be one thing and then you read the rest of the item and realise they’re not the same thing.
When other teams (such as developers) are skimming though your defects, they need to gauge very quickly what the issue is.
Do NOT overestimate this part.
Not only does it make YOU look very silly as the person who raised a defect that isn’t clear, it doesn’t reflect well on your colleagues in the software Testing team.
So how should you raise a defect title?
There’s plenty of ways to skin a cat but one of my formulas is;
Actual result + Expectation
So for example, you could raise the following defect title;
“user can enter less than 6 characters in password field when minimum allowed is 6”
The title is very concise, succinct and to the point.
You might also be interested to know how to write a test case for change password.
Step 2 – Create a detailed description
If you want to elaborate on the title, then you can details in here.
You can add the environment, build, release version etc here if you don’t have specific fields that cover it.
Don’t waffle or write a novel, people haven’t got time to read that. Get to the point but provide valuable information that can help other teams when they conduct troubleshooting.
Step 3 – Provide step by step reproduction steps
DON’T ASSUME that everyone knows how to use the system under test.
Other teams are generally very appreciative when you provide detailed steps on how you found a defect.
It allows them to quickly troubleshoot rather than trying to figure things out.
I’ve worked with Business Analysts who know the application requirements but don’t know how to navigate through the UI.
The reproduction steps help them immensely.
In some cases the problem might be the actual steps themselves.
A very easy hack for this is to literally copy and paste all the test steps from your test case up to the point where the defect occurred.
Hopefully you’ve written your test cases to a very high standard.
Step 4 – Provide ‘expected’ results
Providing an ‘Expected Result’ is absolutely crucial.
For example;
“Expected Result(s): User enters a valid password of 6 or more characters as per the password policy and this is accepted (REQ2301).”
This does a number of things.
Demonstrates YOUR understanding of the application under test (AUT).
Understanding the ‘expected output’ shoes that you have the in depth domain knowledge and are familiar with the requirements.
If you’ve read the requirements then you can literally reference them in this section alongside the expected result.
I usually find this to be extremely helpful to all parties when they want to refer back to the requirements documentation.
If we’re not testing against requirements then what are we testing against?
Helps to clarify your assumptions
Including an ‘Expected Result’ will allow you to clearly state your assumptions without any ambiguity.
If these are incorrect then this a good time for the business to clarify these assumptions.
Understanding this will be helpful to you to decide whether or not you need to update your test cases or whether the requirements need updating.
This is an item to discuss on a triage call.
Pro Tip: Your expected results should always be based on some form of requirements.
Helps to align all teams to the end goal
The above points will help everybody to be clear on what the end goal is rather than second guess.
Step 5 – Provide your ‘actual’ results
When you provide actual results, make sure you include all your observations.
You’ll be providing evidence (in point 6 below) but also include a commentary on what you observed. Small minor details can be incredibly important.
For example;
“When I entered my password and clicked the ‘Submit’ button, the screen did not seem to respond so I clicked on the ‘Submit’ button again and the login failed.”
The above example might not be a functional defect and possibly just a timeout due to a configuration error.
This is why providing these minute details are so important.
Step 6 – Attach detailed evidence
Don’t assume everyone knows what the application looks like. By providing detailed evidence such as step by step screenshots, you can allow other teams to carry out their root cause analysis and deep dives much more efficiently.
I’ve found in my years that the quality of test evidence provided is usually insufficient and poor.
For example, if you’re testing a complex banking app, don’t just provide the outcome or calculation.
Provide screenshots of the workflow. In some cases the calculation might be a result of incorrect test data, configuration etc. It might NOT be the algorithm that is the root cause.
Give enough evidence for others to investigate.
If you can capture your test evidence as a video then this is also a really good idea.
Ideally the more you can capture and attach the better.
This can be a time consuming process so take a pragmatic approach as to how much detail you need to include.
Pro Tip: In your evidence, capture the date, time and possibly the build version of your software so you can refer to it later as part of an audit trail.
Lack of sufficient evidence is something that may potentially haunt you if issues are found in PRODUCTION.
Cover your back here by ensuring you have all necessary documented proof!
Ok hang on, what about Severity and Priority, isn’t that a step?
In theory yes. You can add it temporarily for the sake of raising the defect but this will always be a subjective area that will usually be agreed on in a triage call.
For that reason, I’ve left it out as a mandatory step .
Initially you can assign a Severity and Priority based on an “educated guess” as this will probably be subject to change.
Just exercise some common sense here.
Please tell me you didn’t just raise this software defect without speaking to the Devs first?
We already know this ‘defect’ is going to be a feature and not a defect right?….just kidding.
If you’ve followed the steps above and conducted your due diligence correctly, then you’ll already gauge whether or not something is or isn’t a defect.
If you’re not entirely confident that what you’re raising is a defect then the Developers have every right to pull you up on it.
Its always a good idea to reach out to other teams first, including the Devs.
My usual point of call is the Business Analysts and the product owner (end user).
What I usually do in this case is ask if the behaviour is as expected.
Before you ask them, check your requirements as you don’t want to look silly if everything is already documented.
Remember, we’re all on the same project with the same end goals so let’s make it easy for each other.
An example of a software defect raised using the 6 step method
Title:
Description:
Reproduction Steps:
Expected Result:
Actual Result:
Evidence:
Please do remember that the information in the 6 steps above is as an absolute minimum that I would enter.
To ensure higher quality defect, you would also need to customise it around your individual processes.
In order to be successful at raising high quality defects ,there’s a few things in addition to the above points that I think might help you.
Be Consistent
Please don’t just raise defects using the process a few times and then go back to raising bugs as one line descriptions.
Do it for each and EVERY defect you raise.
You’ll start to raise the bar in your own team and notice others starting to implement it too when they see how effective it is.
This is especially true when it comes to defect management which will become much easier.
Be detailed and thorough
I’ll be honest.
You really won’t like raising defects using the above approach.
Well not at first anyway.
Its time consuming and laborious.
However, believe it or not, I found that you get bothered less by other teams when you raise defects using this detailed method.
It takes a bit of effort to raise defects using this approach but the long term benefits are worth it.
Don’t cut corners
When you’ve got deadlines to hit and Project Managers literally standing over your shoulders, you’ll be under a LOT of pressure to deliver as quick as you can
Don’t fall under this pressure and stick to your guns.
Make sure you raise defects PROPERLY and follow your process.
Wrap up
So there you have it.
Remember that raising a defect using the above steps will not only mean you have defects raised efficiently which will save you and your developers time, there is likely to be an audit trail.
This is especially important if you work in a regulated industry such as banking , legal or aviation where regular audits may be conducted on your projects.
Raising defects in the way mentioned above is good practice and has tons of benefits.
One of the things you’ll notice is the how raising defects in this manner and managing them effectively will have a positive impact in your reputation as a Tester.
Now it’s up to you to use the above guide as a building block for your own defect management framework.
How are you raising defects and do you have any tips you’d like to share for the TestingChat community?